If you’re looking to spruce up your house with a veranda, then read this guide on how to build a veranda in 9 easy steps!
Project Overview
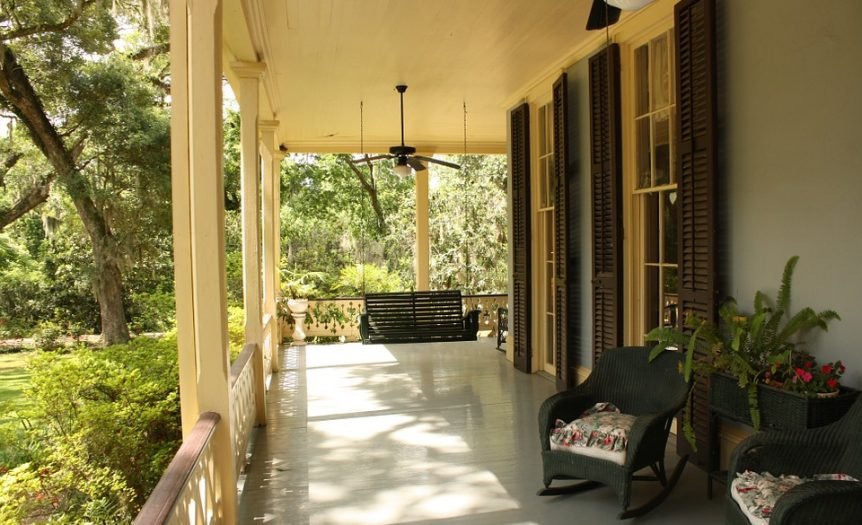
Building a veranda is a great way to add some extra living space to your home. In just a few weekends, you can build a beautiful and functional veranda that will provide you with years of enjoyment. This project overview will show you how to build a veranda in ten easy steps.
Step 1 – Get Permits
The first step to building a veranda is getting the proper permits. Depending on the size and location of your veranda, you may need a building permit, zoning permit, and demolition permit. Check with your local city or county office to find out which permits you need and how to apply for them.
Step 2 – Prepare the Existing Structure for New Flooring
To prepare your existing structure for new flooring, you’ll first need to remove any old flooring material. Next, use a power washer to clean the surface of the veranda. Once the area is clean, apply a sealant to protect the new flooring from weather damage. Finally, apply a layer of insulation to the veranda floor before installing your new flooring material.
Step 3 – Install Joists, Sills, and Rim Joists
You will need to install your veranda’s joists, sills, and rim joists. Joists are the horizontal supports that run perpendicular to the ledger board. Sills are the support beams that run along the bottom of the veranda. Rim joists are the support beams that run along the top of the veranda.
Step 4 – Add Framing Between the Wall Studs
To add framing between the wall studs, first, measure the distance between the two studs and cut a piece of lumber to size. Next, nail the piece of lumber into place using a hammer and nails. Be sure to predrill the holes for the nails to avoid splitting the wood. Finally, add any additional trim or finishes as desired.
Step 5 – Attach Jack Rafters, Fill Plates, and Rake Studs
The next step is to attach the jack rafters, which are the short beams that help support the roof. You’ll also need to fill in any gaps with plates and rake the studs, so they’re evenly spaced. To do this, first, measure the distance between the top of the plate and the bottom of the beam. Then, cut your lumber to size and nail it into place. Finally, use a level to ensure everything is even and secure before moving on.
Step 6 – Secure Fascia Boards, Sheathing, and Trim
To build a veranda, you must secure the fascia boards, sheathing, and trim. This can be done by nailing or screwing the boards into place. Make sure that the boards are level and flush with the trim. Once the boards are in place, you can add the sheathing. The sheathing should be nailed or screwed into place, ensuring it is level with the trim. Finally, add the trim.
Step 7 – Install Posts Between Supports at Roof Ridge
Installing posts between supports at the roof ridge is necessary to build your veranda. This will ensure that your veranda is stable and can support the roof’s weight. Here are some tips on how to do this
Step 8 – Add Restraint Members
Restraint members are essential for keeping your veranda stable and robust. Without them, your veranda could collapse. To add restraint members, first measure the distance between the posts. Then, cut the lumber to size and attach it to the posts using nails or screws.
Step 9 – Install Soffit Boards Over the House Wrap
You’ll need to install soffit boards over the house wrap to finish the job. This will help protect your veranda from the elements and keep it looking its best. Plus, it’s a quick and easy way to add extra protection to your home. Here’s how you do it:
Measure the area where you’ll be installing the soffit boards and cut them to size.